Getting Roxie Back on the Road

Burl, The case of that furnace gets pretty hot. I suggest you fasten those cables up away from the furnace housing.
Yeah, I'll tuck those wires up. Most of them are stereo or coax. Is your Sheridan modded Murray built similarly? 1" plywood everywhere, I wouldn't want to buy that now. I took all the screws out and it was still hard to get the cabinet apart.
I think the hose fittings are 3/8 flares, I have to order a hose. The hose fittings were also not very tight, wouldn't surprise me if they were leaking.
Can't go shopping anywhere so online shopping is doing well with me lately. (Ontario is in lockdown again in case people don't know) Got my CV joint flange bolts the other day from Acklands, the shop in Kingston closed up so had to ship them.
 
Got the furnace working, it was just the temperature limit switch. I also put in a new hose with non-cracked fittings.
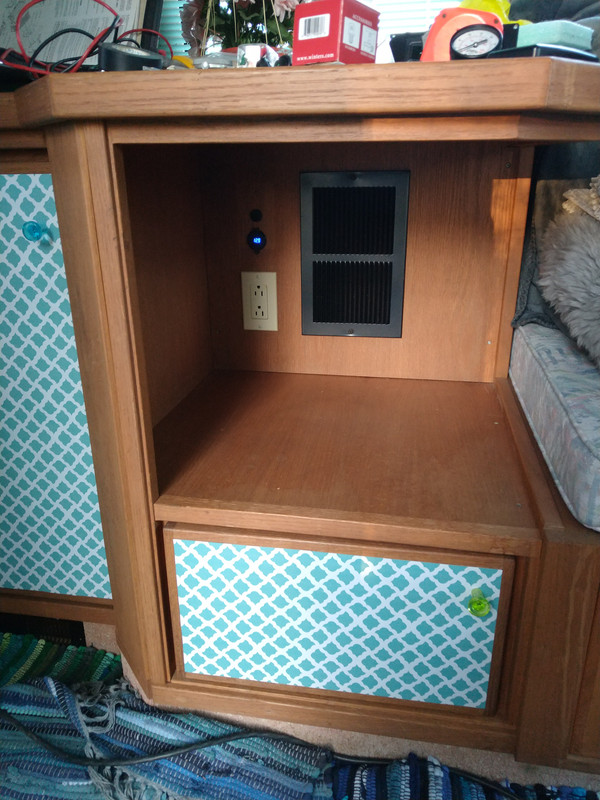
Since I had stuff apart I also added a combo USB charger/voltmeter and a switch so I can shut off the amplifier for the rear speakers, in place of the coax faceplate that was there.

IMG-20210513-194224406.jpg
 
  • Like
Reactions: tmsnyder
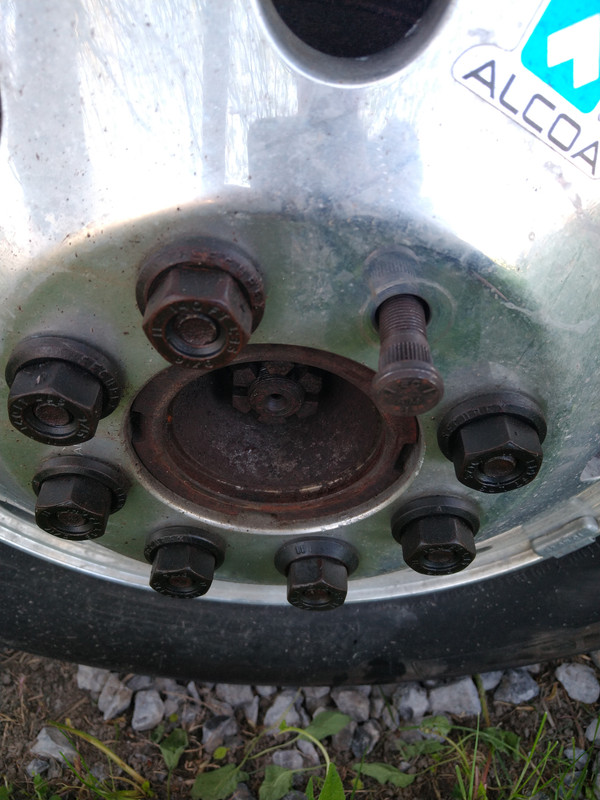
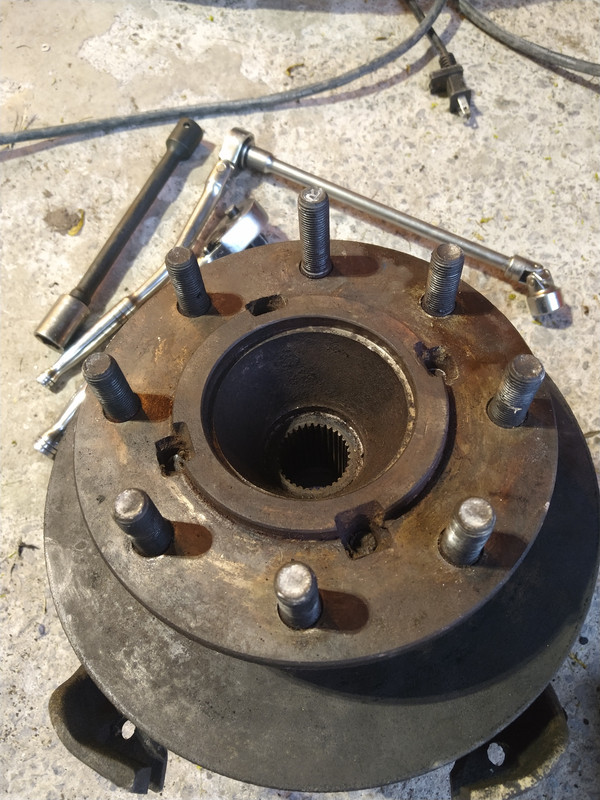
A few questions....do I have the right nuts? Yes that stud is in there to show they are not lug-centric.
Also, those studs are 2" in overall length, the replacement I have in my bin of parts is 2-3/8", should I use it, or will it look stupid (probably nobody will notice) or maybe change them all to 2-3/8" on that hub?
IMG-20210517-164932009.jpg


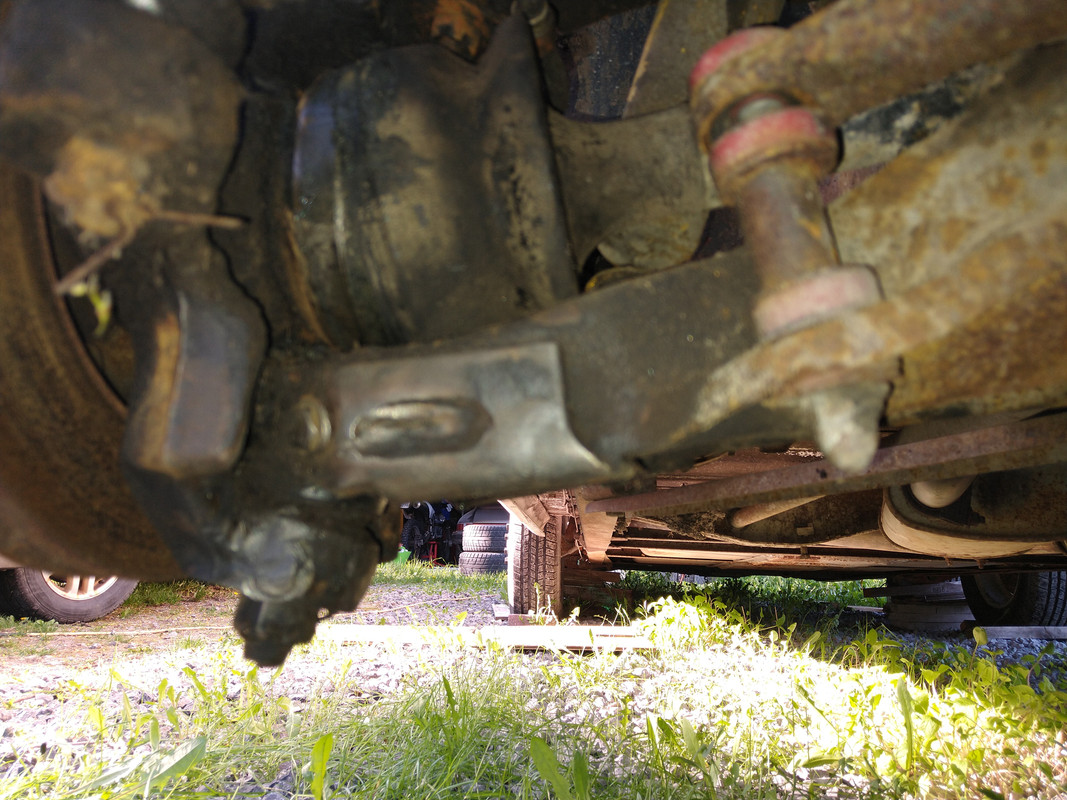
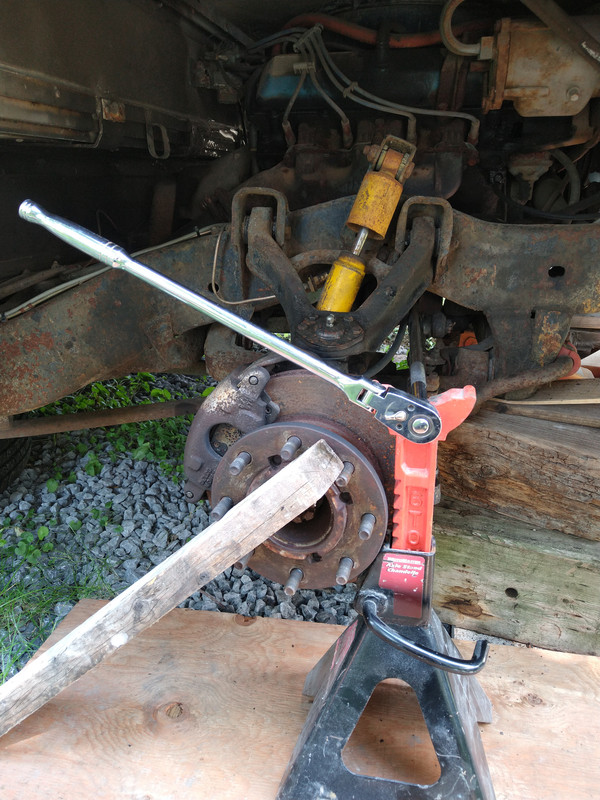
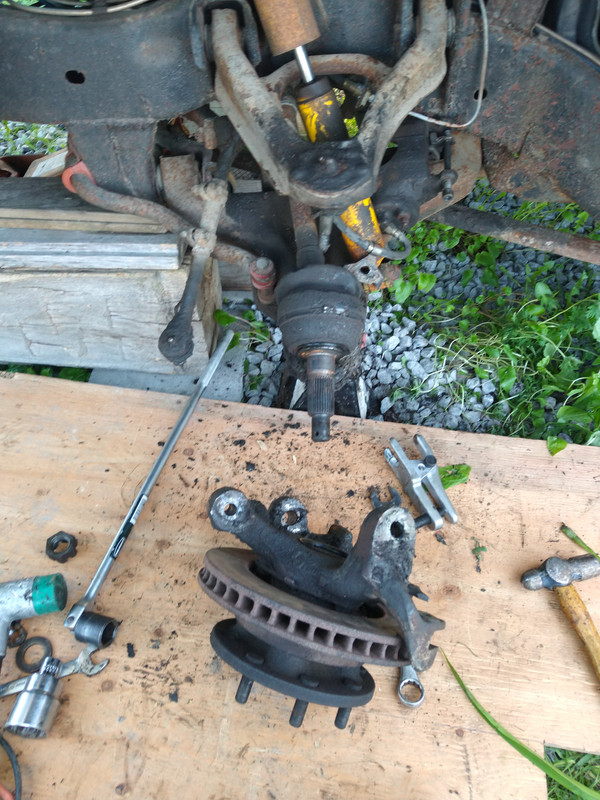
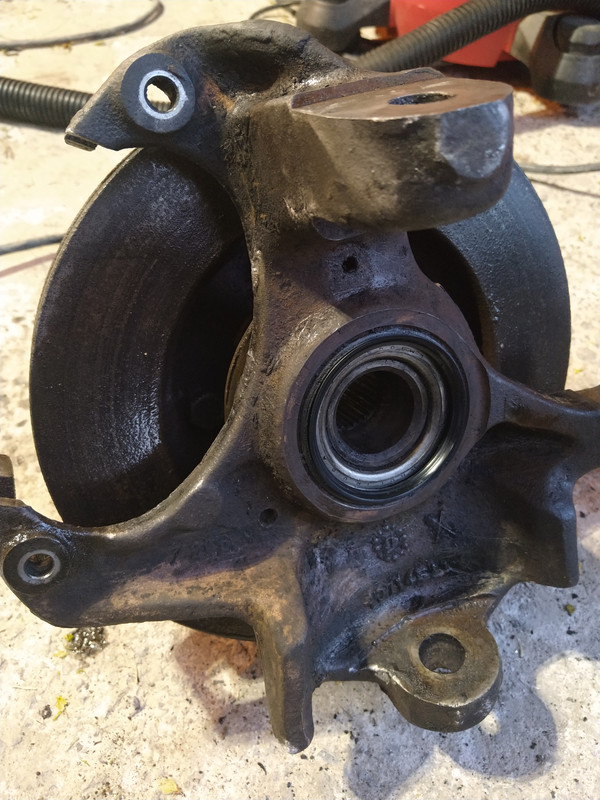
Next, is this stock? It looks like it's reinforced. Anyhow, I found out that the wheel bearing I thought was really worn was actually loose bolts in the lower ball joint.

IMG-20210517-180821697.jpg
 
Looks like 2" is too short anyway, there should be a bit of lug sticking through the nut. Full engagement would be good.

 
A few questions....do I have the right nuts? Yes that stud is in there to show they are not lug-centric.
Also, those studs are 2" in overall length, the replacement I have in my bin of parts is 2-3/8", should I use it, or will it look stupid (probably nobody will notice) or maybe change them all to 2-3/8" on that hub?
IMG-20210517-164932009.jpg
I put my Alcoa's on our coach back in 2005 and did not change the lug studs. Nuts are flush out the same as in your picture. No issues over the last 17 yrs. JWID
 
  • Like
Reactions: bdub
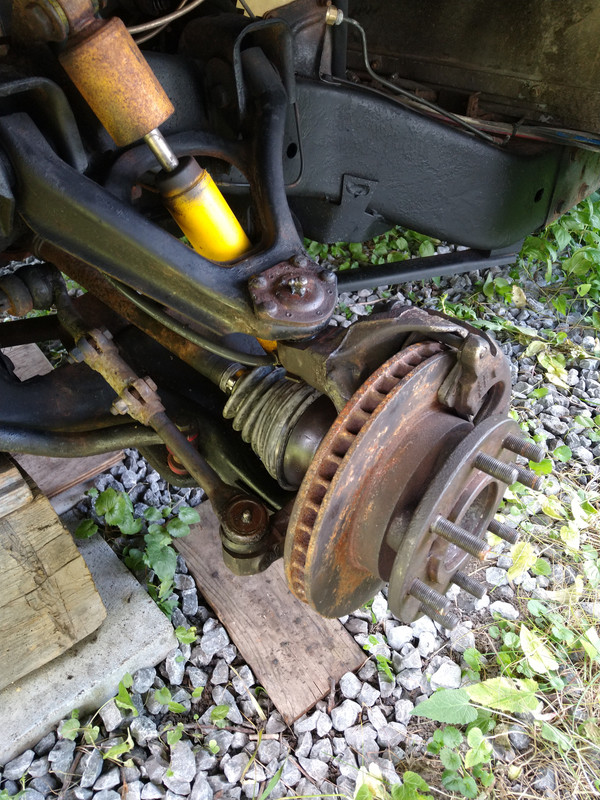
I got the wheel-stud in on the passenger side hub without taking the hub and bearing apart, I unbolted the brake rotor and moved it out of the way.

IMG-20210517-180650254.jpg


IMG-20210521-202749876.jpg


IMG-20210521-203106426.jpg


So, if I don't have to press out hubs and bearings, should I? It all felt ok before I took it apart, should I just clean everything up, put it all back together and "don't fix what ain't broken"? (I still have to replace the CV boot and repack the joint on that side)


On the passenger side what i thought was a very loose bearing turned out to be a loosely mounted lower ball joint. I still have to deal with that, but again, wheel-bearing is ok.
 
^That brake rotor isn't that badly rusted, I think it's just the angle. Plus, everything in Ontario has that much rust.

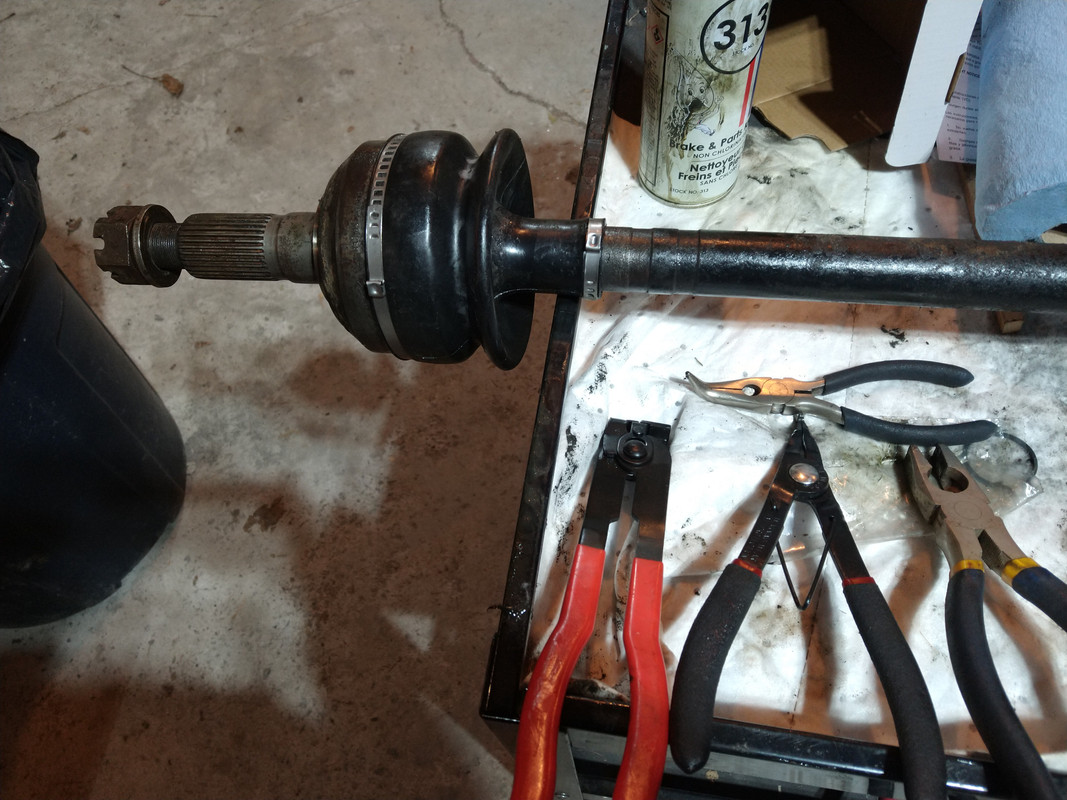
Anyhow, I got that side back together with a new CV boot and wheel stud.

IMG-20210714-151826813.jpg


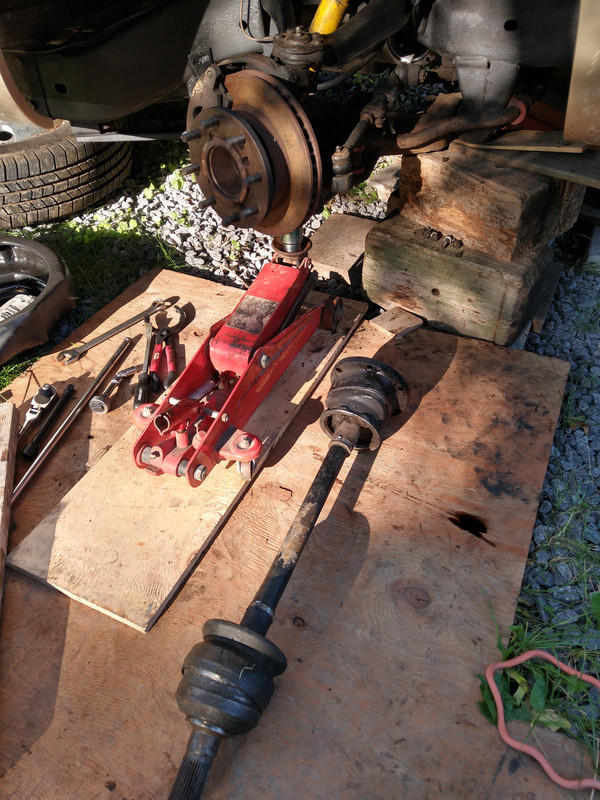
Removing flange bolts on the other side. I've used this setup on other vehicles and it works well for me.

IMG-20210714-151854440.jpg


Got the driveshaft out, it also needs a new CV boot. Have to deal with a loosely mounted lower ball-joint as well.
IMG-20210714-184140295-HDR.jpg
 
As was explained to me on facebook when I had to replace one of my boots (in a campsite, no less) the typical CV joint boot aftermarket replacements, like you installed, will rub against the shock in certain situations. You may want to look at that.
 
If you have a lower ball joint loose in the control arm, you had best deal with that post haste. If that fails, damage to the coach is a given and and your survival is not. The later production had vastly reinforced lower control arms as failures were common, both of the lower ball joints and the control arms themselves.
 
If you have a lower ball joint loose in the control arm, you had best deal with that post haste. If that fails, damage to the coach is a given and and your survival is not. The later production had vastly reinforced lower control arms as failures were common, both of the lower ball joints and the control arms themselves.
I have an order in transit of 3/8"-24 1-1/4" button head Gr8 screws and nuts coming. My local Fastenal wouldn't sell them to me, had to order online.
 
As was explained to me on facebook when I had to replace one of my boots (in a campsite, no less) the typical CV joint boot aftermarket replacements, like you installed, will rub against the shock in certain situations. You may want to look at that.
I will check that out before I do the other side, as I was just about to. The Moog 2456 is NLA, what else works and where do I find it, preferably in Canada? Or is this another case of "buy it from Applied"?
 
Last edited:
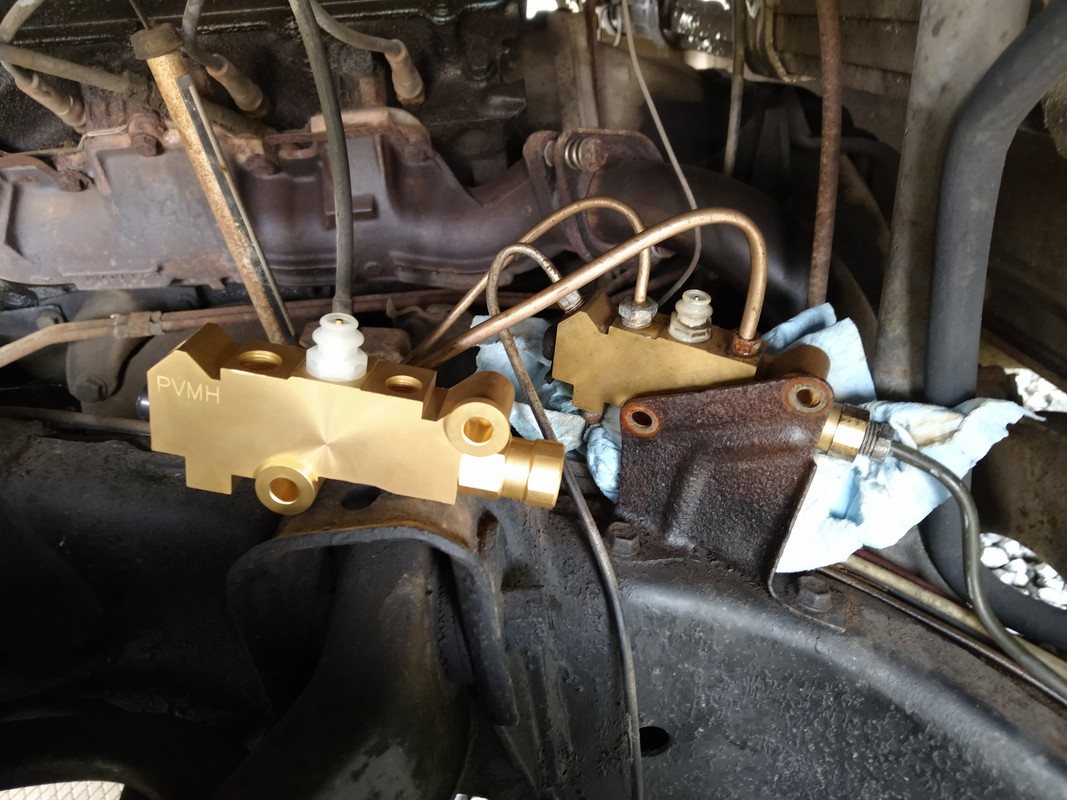
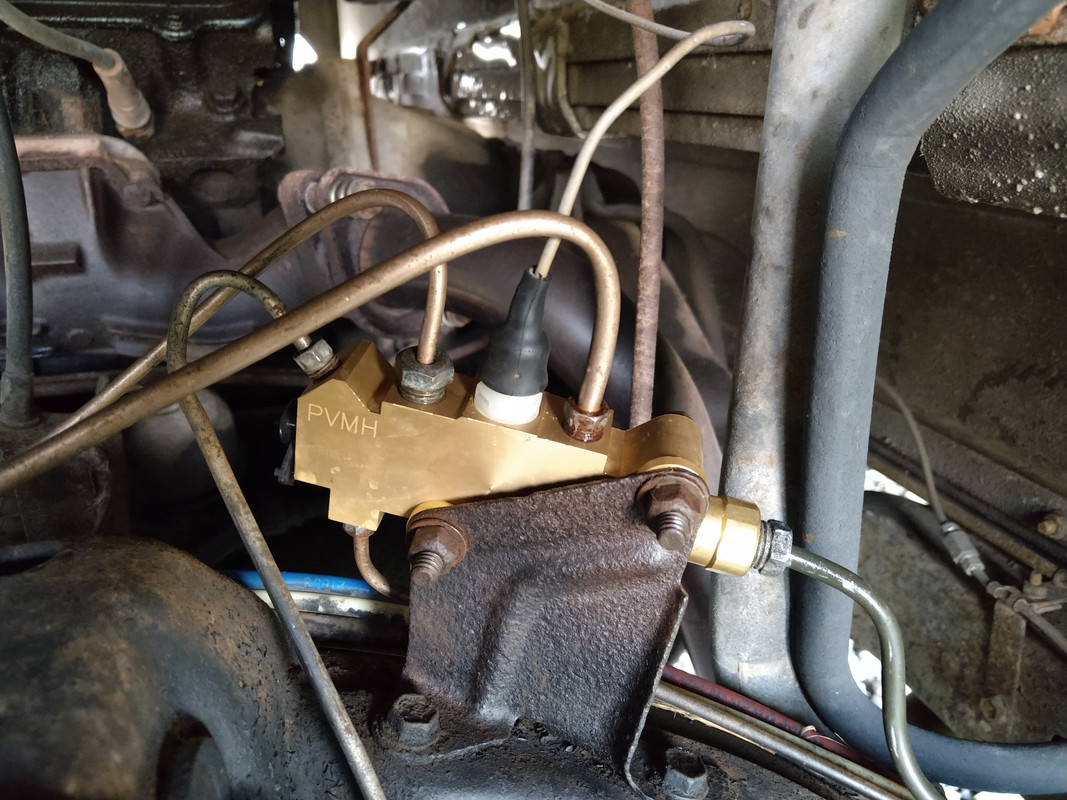
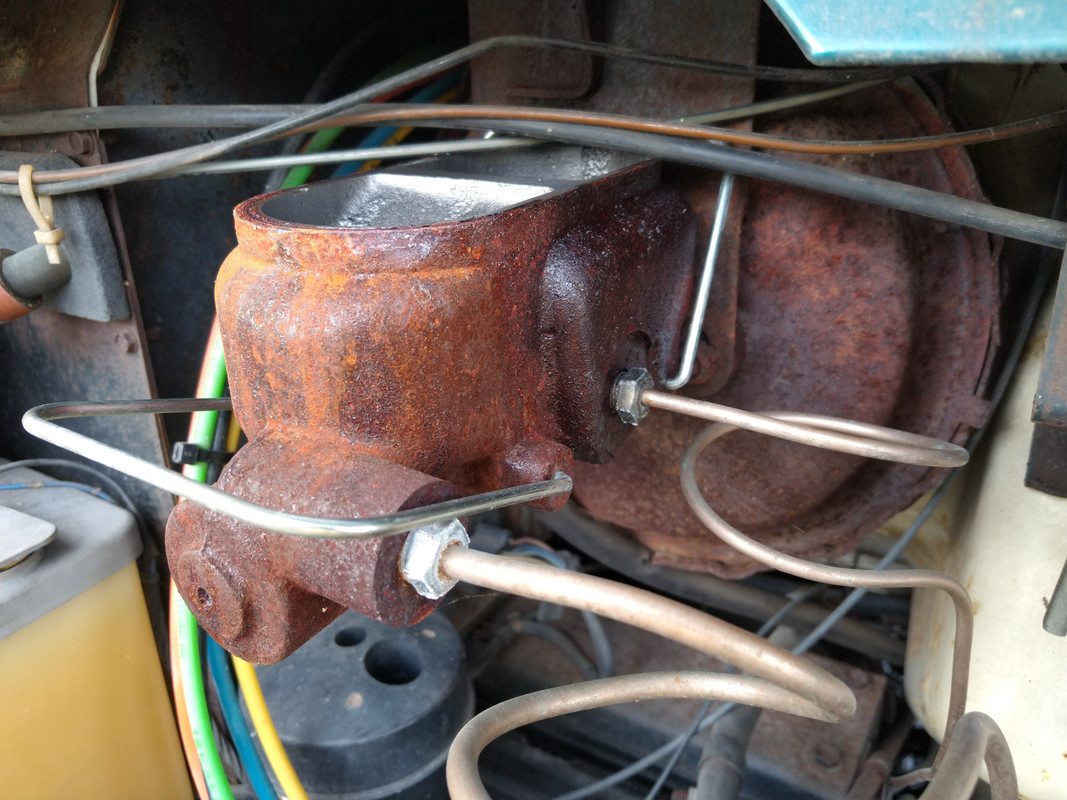
The previous owner also replaced the master cylinder, I have no idea where he got it or if it's correct. All I know is it took a lot of pressure to stop on the drive home.
Anyhow, new fluid and vacuum bled all the brakes.

IMG-20220512-173044225.jpg
 
Looks like its getting there....
So slowly, as you know, it went from too cold to work outside, to too hot all in a week or so. Anyhow, I got some other things out of the way and working on Roxie again.

I installed the bigger bolts in the loose ball joint on the passenger side. So now hopefully the whole front end is up to par. I have different outer CV boots, old school on passenger side, neoprene on the driver's. I'm not taking it apart again unless there's a problem.

Going to be difficult to test the brakes, might be able to use the church parking lot next door.

Still oil change, some rubber lines, filters, headlight surrounds...one of these days I'll make a list.

IMG-20211129-172852878.jpg