Yes the fit was good, it was tricky for me because I have not swapped one out before and my radiator frame is far from perfect. As far as cost, I paid $815 and I just looked, he is up to (Holy Sh$t)) $999.98 for it!
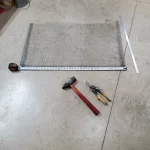
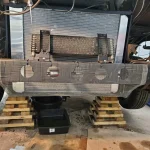
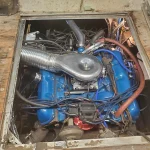
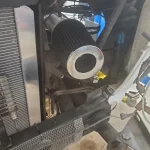
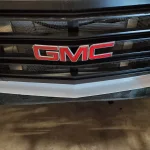
I'm going to need a radiator. The plan I'm leaning toward is to use an older GMC/Chevy pickup truck radiator. They are the right width but not as tall and dirt cheap for an aluminum replacement radiator. They were big enough for an 80s big block back in the day. Then fill in the remaining height with an aftermarket oil cooler for the engine oil. They come in all sizes. So the overall engine cooling (oil + coolant) area will end up the same. That's my tentative plan anyway. TBD Probably won't touch it until mine poops the bed, it's leaking a little right now so could be soon, it's due.
When it comes to it though I may just buy the $1000 aluminum one b/c that's not bad really.