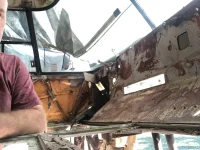
the twin bed set up is best for us also but more than I want to take on with the '76, maybe when we get back on the '74. I considered it and the new wall ended up right in the middle of the utility door. I could split it up so when opening it from outside, the right side would just be a blank panel and the left half would have a 50w connector and a water inlet.
looks like your plans require moving everything from the existing utility door, correct? have also considered doing away with the rear window, whats your plan on that?
we've decided to keep the OE wet bath since it makes such good use of space. would like to move it to the left side but the PO had installed a new tank and macerator too and moving it would require custom tanks.