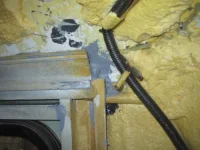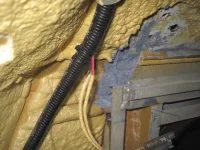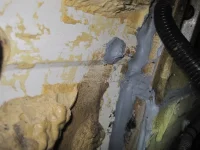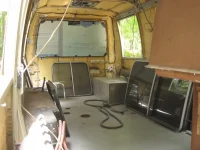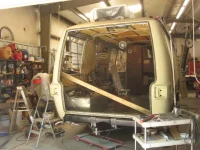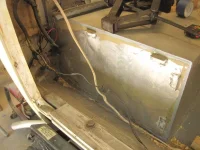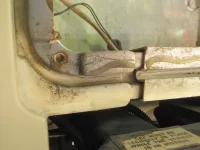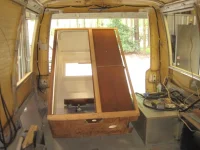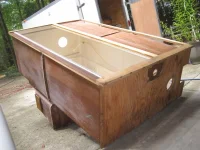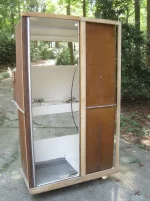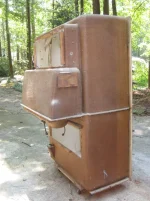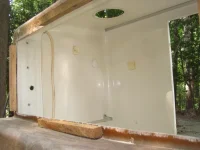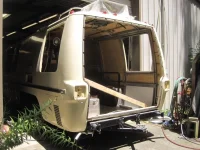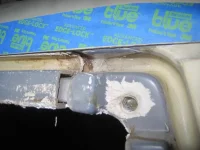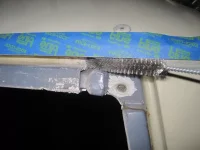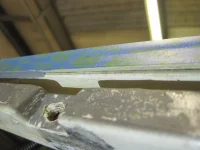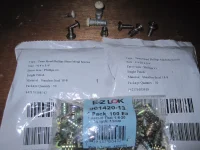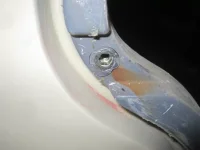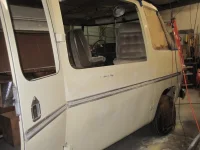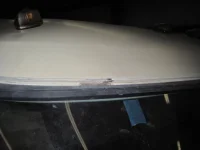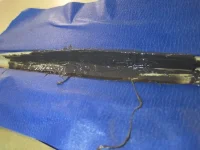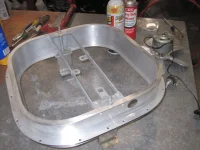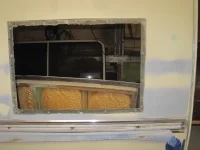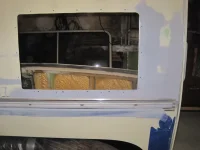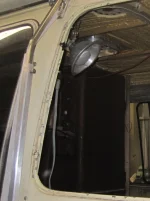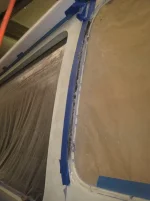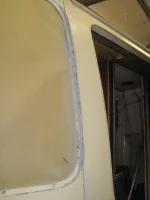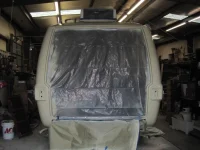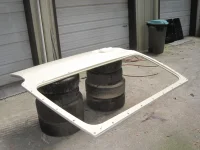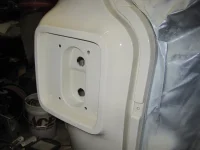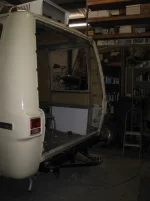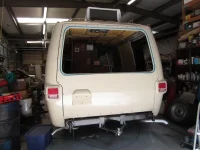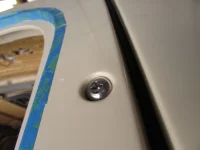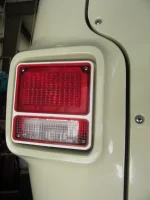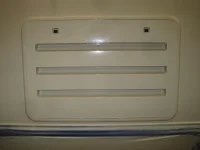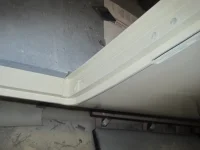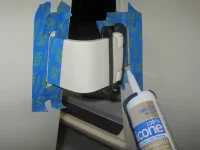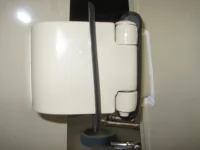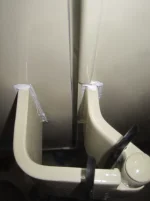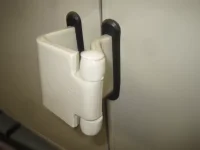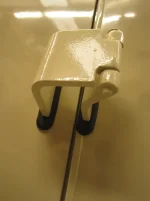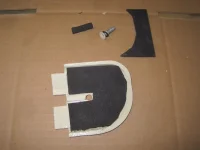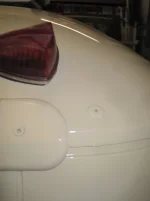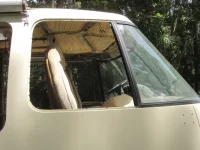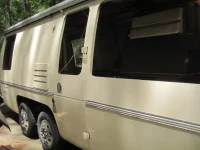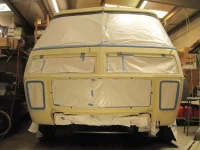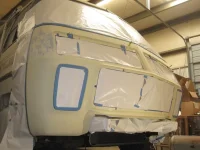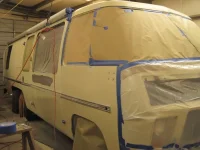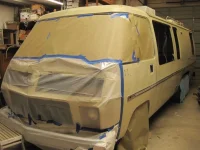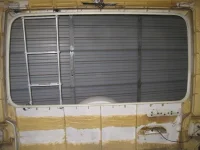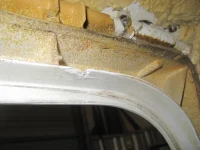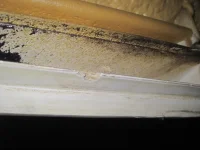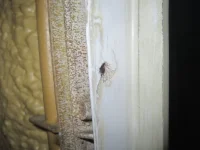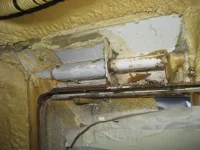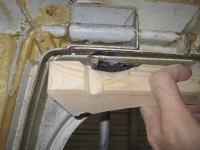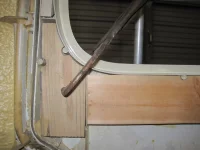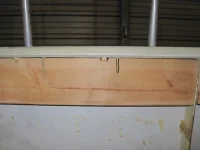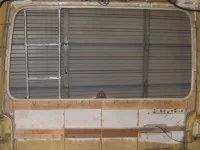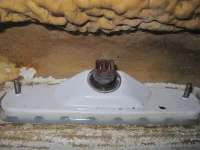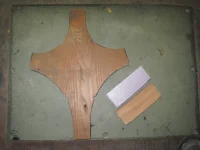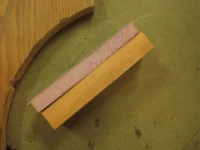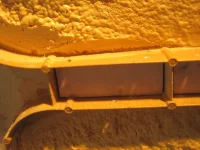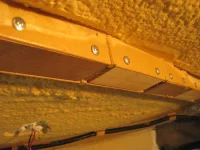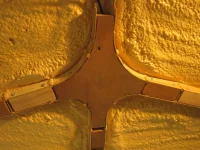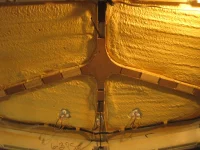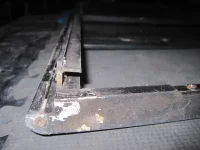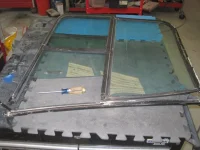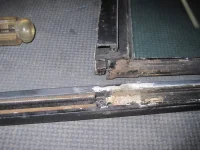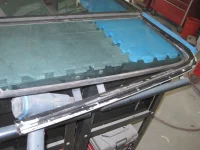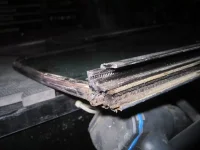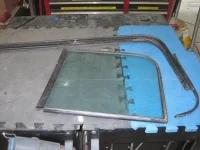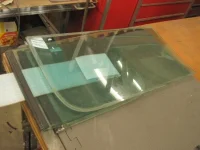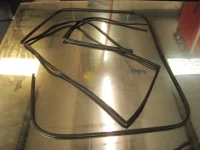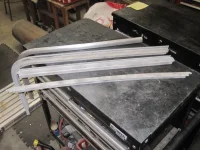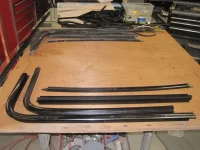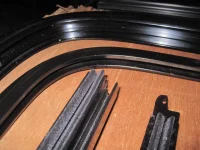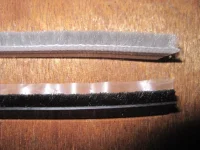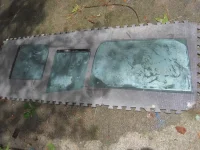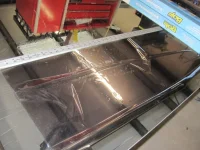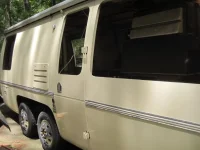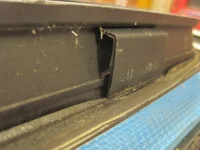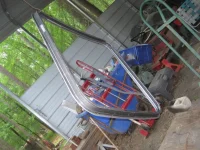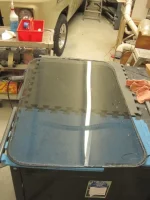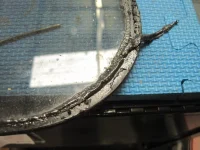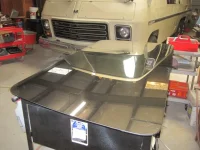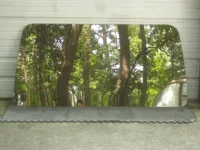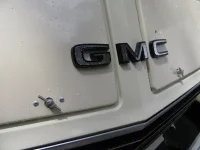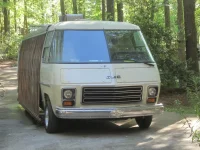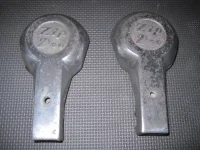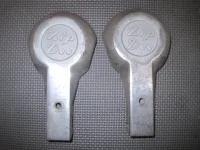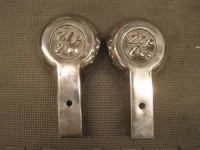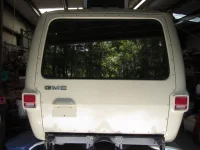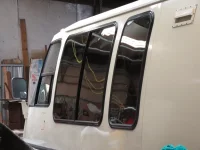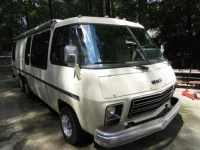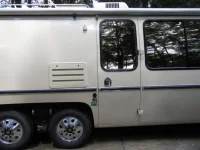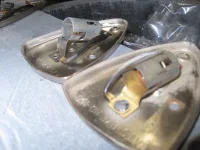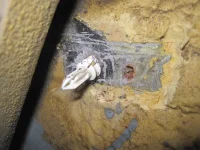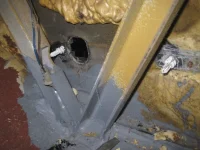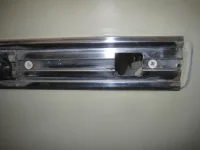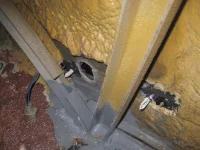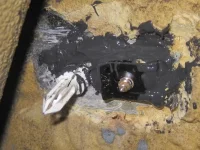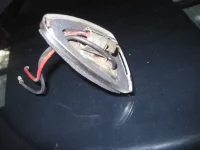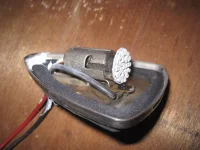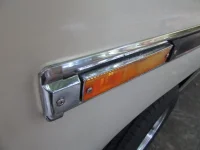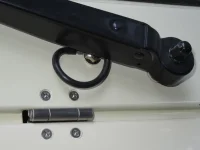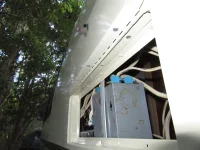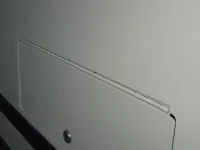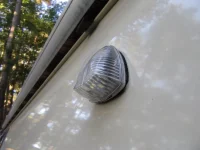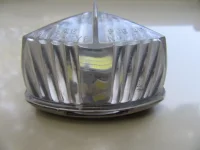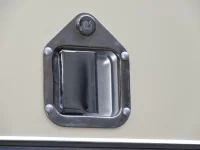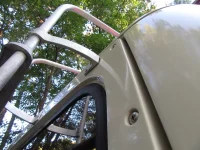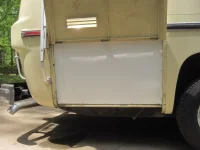
the propane compartments temporary (or perhaps not, havnt decided yet) alluminium blanking plate made from trailer wall material and more photos of my attempts to make the coach as water proof and resistant as possible.
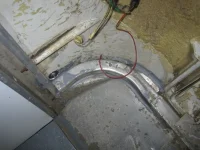
pic 1 & 2 of the left side fender well area under the kitchen.
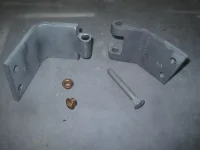
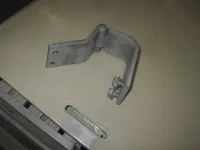
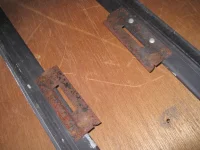
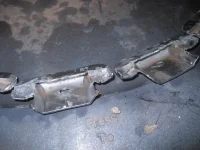
3 shows the inside portion of the air ride tubing routes mounting brackets. these were nuts and bolts that had to have two people, one inside and one out in order to install and remove them but once all the interior is assembled they would not be accessable so I spot welded the bolts to the inner backing plates and painted them.
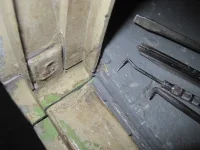
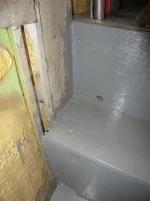
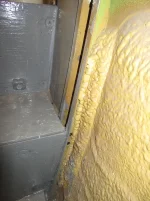
4 & 5 show each end of the cockpit steps. common wood rot area due to leaks but this coach survived any major water damage. applied dynatron inside and out here, there was also some air leaks in this area so every little bit helps.
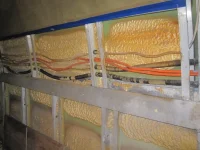
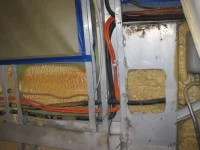
7 shows the left side interior wall under the big window. the orange extension cord wiring is what the PO use for adding a second generator remote start and load switch, you can see the switches and indicator light in post 9 of this thread in image9 photo on the power level panel. he did this so he could start the genset while driving. good idea! I reran the wires behind the walls while I have the interior removed since he just had them under the sofa and behind the cabinets. have also ran several extra wires through the original wiring loom including one from the brake pedal to the new third brake light I will be installing. will also be running some Cat5 cables for various geek stuff I plan on doing later.
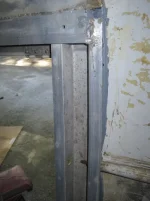
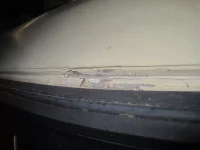
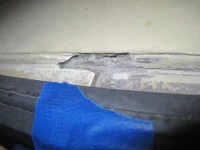
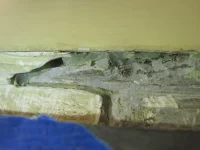
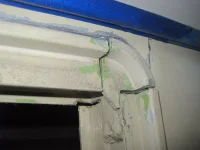
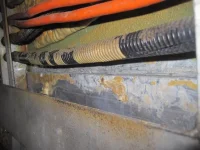
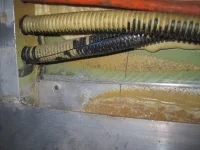
9 & 10 show where the beltline frame meets the exterior panels, there seemed to be water stains in this area that Im not sure of the exact origin so Ive removed the spray foam insulation, cleaned it well in prep for more dynatron seam sealer in these photos. I did this front to back on both sides.
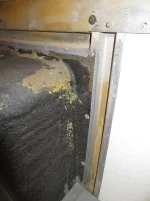
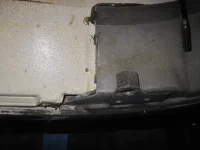
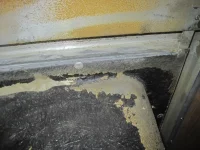
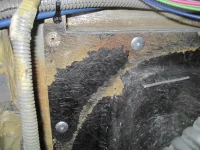
11 & 12 show where Ive trimmed the excess fiberglass off the fender wells. they were only sealed with foam tape which was still OK on the inside but degraded on the outside a bit. I trimmed it mainly so that I could spread seam sealer across the area but also thinking that I might need that flat shelf for various mounts later on.
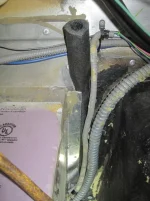
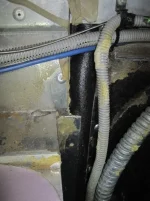
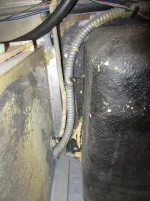
13 - 15 show how I used closed cell foam pipe insulation to fill the void area between the generator compartment and fender well. you'll see me make use of it in many places as I continue.
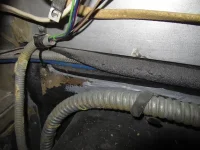
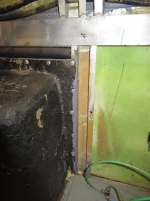
16 & 17 show more of it and I also trimmed the front and back sides of the fenderwells flush with the frame and resealed them there too.
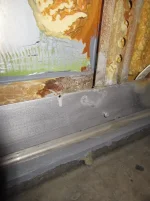
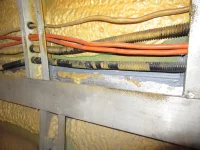
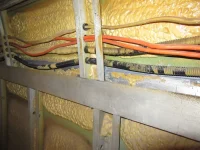
18 & 19 is the area I dug out foam and cleaned now with dynatron applied.
to be cont..
Attachments
-
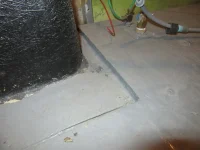 1.webp79.4 KB · Views: 24
 -
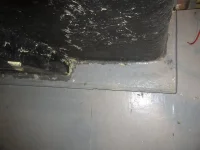 2.webp84.3 KB · Views: 25
 -
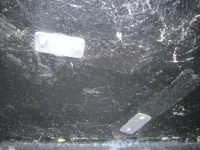 3.webp197.1 KB · Views: 25
 -
 4.webp88.2 KB · Views: 25
 -
 5.webp116.7 KB · Views: 25
 -
 6.webp89.7 KB · Views: 25
 -
 7.webp96.5 KB · Views: 25
 -
 8.webp75.1 KB · Views: 25
 -
 9.webp83.5 KB · Views: 24
 -
 10.webp115 KB · Views: 24
 -
 11.webp142.3 KB · Views: 24
 -
 12.webp155.4 KB · Views: 25
 -
 13.webp67.5 KB · Views: 25
 -
 14.webp64.5 KB · Views: 25
 -
 15.webp184 KB · Views: 25
 -
 16.webp137.3 KB · Views: 25
 -
 17.webp121.1 KB · Views: 25
 -
 18.webp124 KB · Views: 24
 -
 19.webp115.7 KB · Views: 23