New Paint and lights for the front top-clip 2025

Don Jaksa

Well-known member
Mar 27, 2022
517
327
63
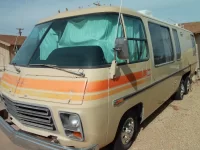
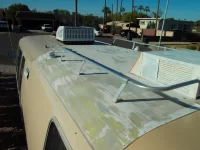
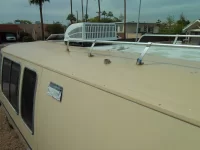
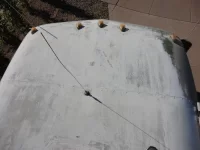
My GMC roof looks like an eyesore (says my neighbor)
DSC03799.webp

The PO used some roofing stuff and it has failed, weathered, beat, and useless.
The roof will drool white chalky from this mess

The worst was the front windows

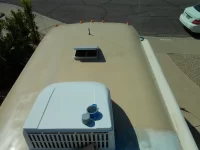
So I decided to sand it down, remove the white roof stuff, wipe it down with alcohol, touch up with SEM self-etching primer, then spray two cans of primer and then top coat with this Hard Hat Tan paint

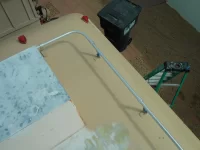
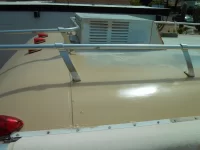
I have had these new running lights and wanted to replace the old originals
DSCF0004.JPGLooks greats from two feet

DSCF0003.JPG
Okay, maybe four feet...You can see what I was facing
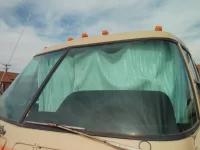
DSCF0002.JPG
I had to hang out over the top to get at the wires to solder them
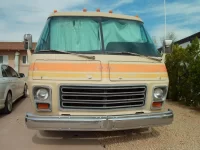
DSCF0001.JPG
Looks much more done now.

I should order more paint
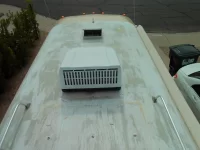
DSCF0005.JPG

Matches in the twilight
DSCF0021.JPG
Doesn't look so derelict now
 
Last edited:
Looks great, but the white top is not such a bad idea. I think the cab roof definitely *looks* better in tan, but for the rest of the vehicle, the roof isn't really visible from the ground. The temperature difference between just the tan and white can be very surprising in summer sun.

Also, my factory roof paint (tan) seems to do the same white streaking down the sides and front windshields, so that issue isn't isolated to whatever is on the roof of yours. I am hoping a coat of wax on the roof will help with this as soon as weather permits. If not, I will be rolling on the same Henry's Tropicool elastomeric paint I use on my Airstream roofs.
 
  • Like
Reactions: Don Jaksa
I have heard of rubber strips that goes around the upper section of the windshield that prevents the oxidized paint from rain or dew that causes white strips that runs down the windshield.

I use the wax treatment that Steve Ferguson wrote up about in the other form. Needs to be done every couple of years.

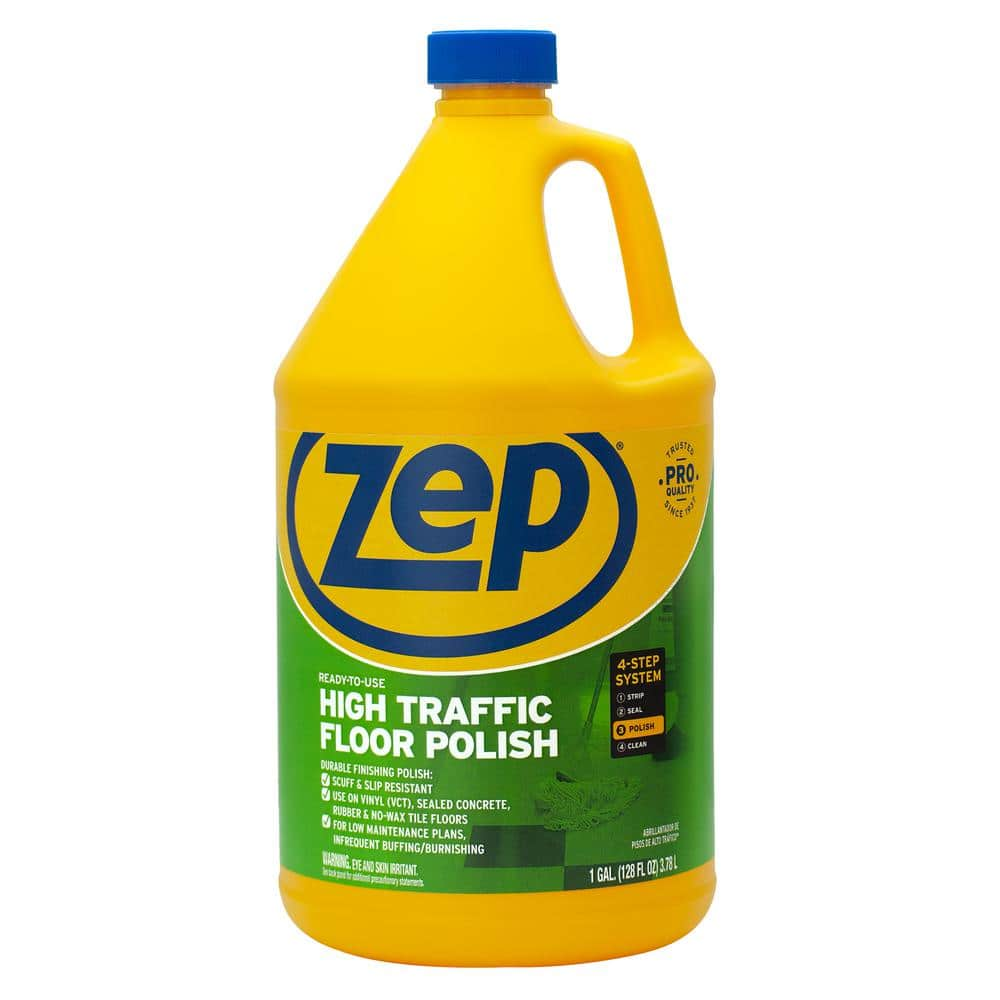
Zeb wet floor look polish at Home Depot
Is the Zeb what is in Steve's write up you mention? Not sure where to go to see that write up. I am actually getting ready to do my 26 after the paint touch up this month, so currently making decisions regarding regular wax, ceramic, and various other potential finish products.
 
Zeb wet floor look polish at Home Depot
Some of the reviews mention that this is shiny upon application, but the product doesn't stand up to water in places like kitchen and laundry room (dulls the shine and damages the coating). Sounds horrible for a vehicle. Are these people just applying it wrong?
 
I tried to find the write up in the old forum and could not. Somehow Steve Ferguson deleted all but one of his posting. He user name was botiemad.

I have a saved copy on a memory stick.

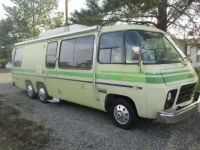
I redid my 76 green Palmbeach last fall using this method. IMG_0002.webp Materials
-Zep Wet Look Floor finish (Step 3) (available at Home Depot)​
-Bar Keeper’s Friend (powdered)​
-TSP (Trisodium Phosphate, powdered)​
-3M scrubbies (white, fine)​
-Microfiber rags (white or laundered)​
-Latex gloves​
Preparing the surface is the most important part, since anything left on the surface will be sealed under the ZWLFF acrylic coating, and improper prep can result in peeling/flaking later. I repeat: The prep-work is the most important part! Do not try to cut corners here. The cleaner your RV is, the better your final results will be.​
Step 1: Start by washing your RV well as you normally would, making sure to include the roof, and rinsing well from the top down.​
Step 2: You now want to remove any and all stains, soiling, oxidation, and chalkiness from the surface. Dip a white 3M scrubbie into water and then liberally sprinkle Bar Keeper’s Friend (BKF) on it. Scrub the surface of the motorhome, rinsing the scrubbie and re-applying the BKF often. Do small areas at a time, rinsing well with water and a sponge as you go (Rinsing well is important to remove all BKF residue. I used a "flow-thru" brush attached to a hose to rinse the BKF residue thoroughly).​
Step 3: Next you want to make sure that there is absolutely no remaining wax on the RV, since any residual wax can cause the ZWLFF to peel and flake. Mix up a bucket of TSP (1/2 cup) in water (2 gal), and use it to wash the entire RV again. You can use it with a carwash brush, a sponge, a pressure washer…anything you would normally use to wash your RV. Rinse well as you go, then rinse again and let it dry completely (again, rinsing well is important to remove all TSP residue). You should now be left with a clean and smooth (although dull) wax-free surface. Congrats, the hard part is done!​
Step 4: Now comes the easy part. Shake the ZWLFF well, and pour some into a shallow container (a pie pan works well). Fold a microfiber rag to about hand-sized, dip it into the ZWLFF (trust me, use gloves!), and squeeze out the excess. How much/how wet? You want it more than damp, but less than dripping. Now simply wipe down the surface of the RV with the wet microfiber rag. Don’t try to apply a heavy coat or try to “rub it in”; just wet the surface (imagine wiping off a layer of dust with a damp rag). It really doesn’t matter whether you wipe horizontally, vertically, or in circles, and don’t worry about overlaps; ZWLFF is very thin/watery and you are just trying to “moisten” the surface. Work your way all the way around the RV. The thin coat of ZWLFF will dry very quickly; long before you’ve gone all the way around it will be dry and you can immediately start on the next coat.​
That first coat will likely look really bad; streaky, blotchy, shiny in some places, dull in others…don’t panic. Each additional coat will start to even it out and build up a deep layer of shine. By coat 3, you will be grinning ear to ear. And coat 4 (or 5?) will be the icing on the cake. Not only will your RV shine like it hasn’t shined in years, it will be a deeper color as well*. Even old, faded graphics will have a new lease on life! All for less than $30 total!​
*Note: This procedure will slightly change/darken the color/shade of your RV.​
Things (I learned) to keep in mind:

-Don’t use new colored microfiber rags until they have been laundered, as the color may bleed.​
-Don’t try to “over-apply”, or try for a heavy coat, or you will get runs. The thinner, the better. Remember, you’re just trying to “moisten” the surface with each thin coat, nothing more. If you are getting a lot of runs, you’re applying it too heavily.​
-Be careful around window frames, locks, latches, etc., as the ZWLFF is very watery and will have a tendency to gather and cause runs. ZWLFF dries fast, so keep an eye out for any runs and give them a quick wipe before they start to “set up”.​
-Some older, deteriorated graphics may “bleed” color onto the rag and surrounding areas. If you notice any bleeding during the BKF or TSP stage (steps 2 and 3), then give a quick wipe of ZWLFF across the graphics prior to step 4, which will seal them up. Then go ahead and apply the ZWLFF to the entire RV (including the now sealed graphics) as per step 4 of the tutorial.​
-After each coat, go around and open/operate all hatches, locks, catches, etc. The ZWLFF acrylic coating can sort of “glue” them closed.​
 
  • Like
Reactions: Don Jaksa
My GMC roof looks like an eyesore (says my neighbor)
View attachment 12786

The PO used some roofing stuff and it has failed, weathered, beat, and useless.
The roof will drool white chalky from this mess

The worst was the front windows

So I decided to sand it down, remove the white roof stuff, wipe it down with alcohol, touch up with SEM self-etching primer, then spray two cans of primer and then top coat with this Hard Hat Tan paint

I have had these new running lights and wanted to replace the old originals
View attachment 12773Looks greats from two feet

View attachment 12772
Okay, maybe four feet...You can see what I was facing

View attachment 12771
I had to hang out over the top to get at the wires to solder them
View attachment 12770
Looks much more done now.

I should order more paint
View attachment 12774

Matches in the twilight
View attachment 12776
Doesn't look so derelict now
That looks good Don. One advantage of all the separate panels on the GMC is that you can get away with painting a piece at a time.
 
  • Like
Reactions: Don Jaksa
I tried to find the write up in the old forum and could not. Somehow Steve Ferguson deleted all but one of his posting. He user name was botiemad.

I have a saved copy on a memory stick.

I redid my 76 green Palmbeach last fall using this method
Thanks for posting this. Wow... Bar Keeper's Friend! That seems aggressive. I might be comfortable doing that on the roof, but I don't think I'll try that on the side panels.
 
BKF is a bit acidic, so that helps it clean metals. Be sure to rinse very well though so things don't get over-etched. IIRC it's oxalic acid contained within BKF. I believe this is the same acid in "wood bleach" and is fantastic for pulling water stains out of wood flooring as well.
 
Got the rear clip painted and new lights installed
DSCF0028.webp
Progress on the rest
DSCF0029.webp
Definitely should have considered rolling the main top part instead of spray cans

DSCF0028.webp
The shade difference is dust collected on the first act

DSCF0035.webp
End of the can...

DSCF0019.webp
Getting there...

Top passenger side
DSCF0016.webp

After seeing these images, I went and used steel-wool on the ladder frame to remove the overspray
DSCF0015.webp

The last section awaits more paint on order
DSCF0018.webp


What a beautiful day...
DSCF0013.webp

Main section primer and top-coated
New vent caps installed, screwed down and sealed
DSCF0018.webp
one last little section left
 
Last edited:
I tried to find the write up in the old forum and could not. Somehow Steve Ferguson deleted all but one of his posting. He user name was botiemad.

I have a saved copy on a memory stick.

I redid my 76 green Palmbeach last fall using this method. View attachment 12792 Materials
-Zep Wet Look Floor finish (Step 3) (available at Home Depot)​
-Bar Keeper’s Friend (powdered)​
-TSP (Trisodium Phosphate, powdered)​
-3M scrubbies (white, fine)​
-Microfiber rags (white or laundered)​
-Latex gloves​


I think before putting a Mop and Glow type floor finish on my coach, I would try Poppy's Patina. The rat-rodders use it to lock in and give the patina a shine.

I also read online that the floor finishes do not hold up over time, ends up yellowing and being a pita to remove.

Here's stuff that's wipe on and UV protective:

 
  • Like
Reactions: Bhart