I'm curious why you think you need to re-curve. Not latching, not hitting the second latch, water leaking, wind noise, hinges binding? I have a coach that would not hit the second catch, so it flopped around on the first catch and I thought it needed a re-curve. I learned on some coaches the catch pin itself degrades (quite ingenious rubber and steel sandwich if you look into it), next learned some have a lip on the catch plate that extends past the coach frame lip. I was successful making mine shut correctly by grinding maybe a millimeter off that catch plate lip to put it more on plane with coach frame. In some perfect world I could still use a better pin and a little less stress on the middle of the hinge side with a re-curve, but my goal was a solid closing door.
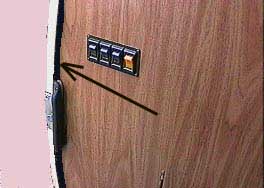
Oh yea, if you start messing with the door striker plate, be sure to do some reading first how they attach, as two of the nuts are captured and two are not and will fall down into the body frame not to be recovered. My Royale trim is such that it is easy to hold the back, but it is covered in my Glenbrook and would require more advance shenanigans to not make it worse.